Milk in Bread: Your Guide to Softer Loaves, Better Flavor, and Tender Crumb
My love for milk-based breads started long before sourdough ever entered my kitchen. Back when my husband and I bought our first bread machine, nearly every recipe called for milk or milk powder — and every loaf came out soft, golden, and dangerously easy to eat. You know when you cut “just one slice” and somehow half the loaf disappears? Yeah… that happened a lot.
Eventually the bread machine gave up on us (probably for the best), and bread took a back seat for a while.
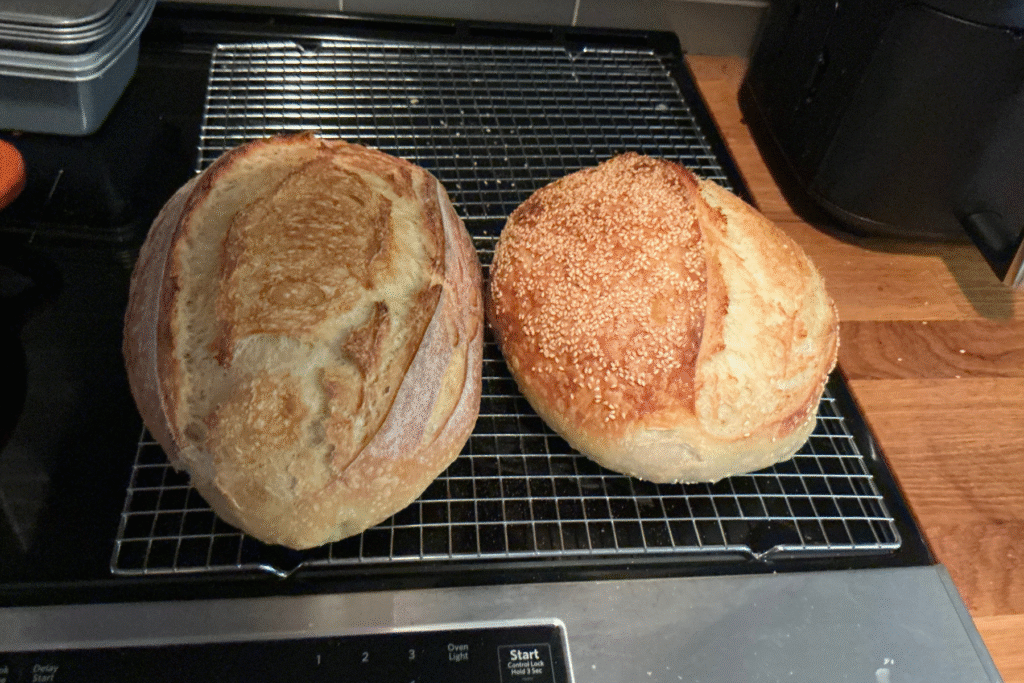
Fast-forward to 2024, when sourdough found me. I fell in love with the slow pace, the ritual, the smell of fermenting dough. And when I started adding milk and milk powder to sourdough, something clicked. It felt like revisiting those bread machine days — only better. The loaves were silkier, softer, and unmistakably bakery-style.
Milk in bread isn’t just a swap. It changes how dough feels, bakes, and tastes — and once you understand why, you can use it with confidence.
Let’s walk through it together.
Liquid Milk vs Milk Powder
They sound similar… but they behave like entirely different ingredients.
Most bakers don’t realize how differently these two enrich bread — and knowing the difference is one of those tiny skills that quietly unlocks better loaves.
Liquid milk brings hydration, gentle sweetness, natural fats, and protein. It softens the crumb, deepens browning, and slows fermentation in a way that produces a more tender, cozy loaf.
Milk powder adds richness without changing hydration at all. It strengthens the dough, intensifies aroma and flavor, and gives your crust that deep golden color that feels unmistakably “bakery-made.” It’s especially helpful in sourdough, where hydration matters.
And when you use both together, you get something special.
• Milk changes structure and tenderness.
• Milk powder deepens flavor, softness, and color.
Together, they give you that nostalgic, silky bakery crumb — the one that makes people ask,
“Wait… YOU made this?”

What Milk Does Inside the Dough
Milk changes bread from the inside out — not dramatically, but in all the right little ways.
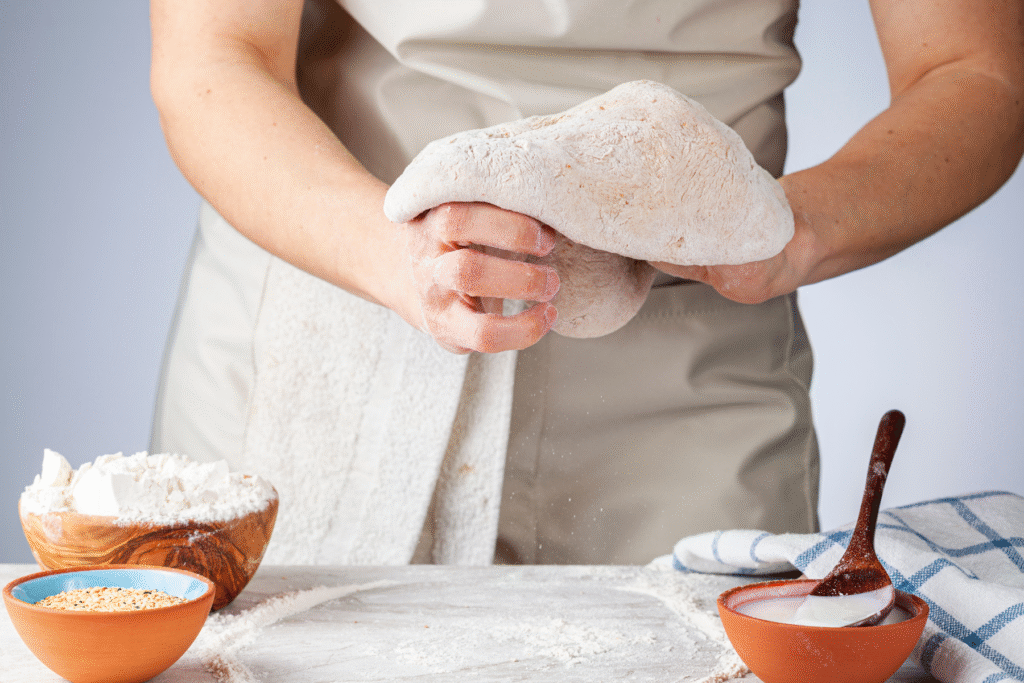
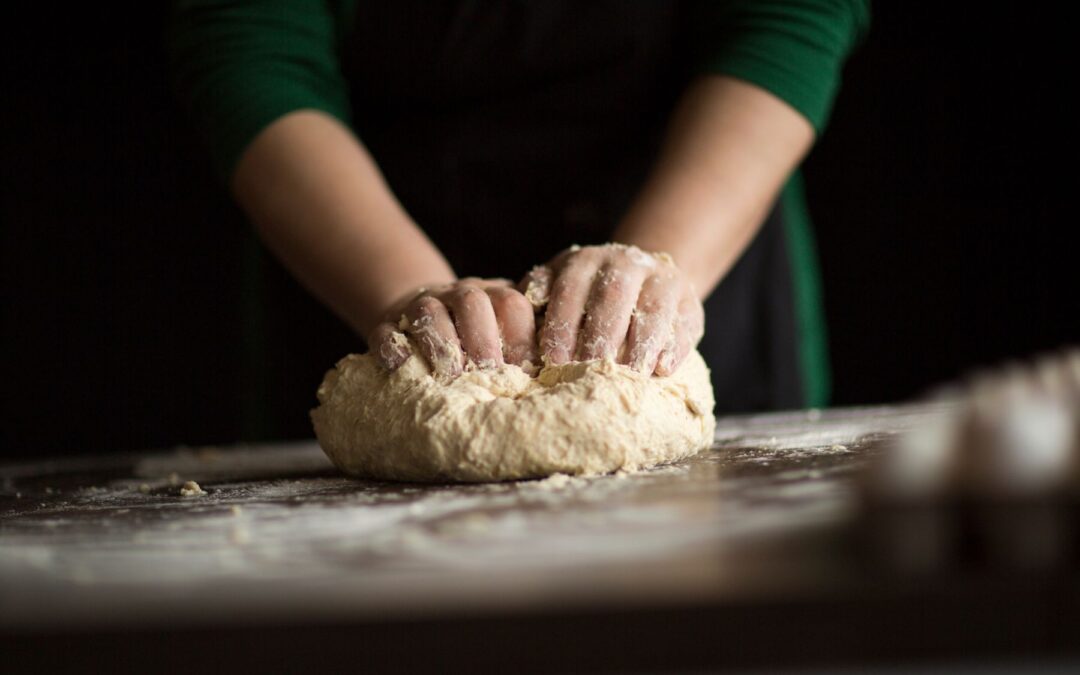
When milk hydrates the flour, the fats gently coat the gluten strands. This keeps them from tightening too firmly, which is why milk breads feel soft and tender instead of chewy. You can literally feel the dough relax in your hands.
Milk also naturally softens acidity. In sourdough, this is beautiful. That bold tang turns mellow and rounded, creating a smoother, more balanced flavor.
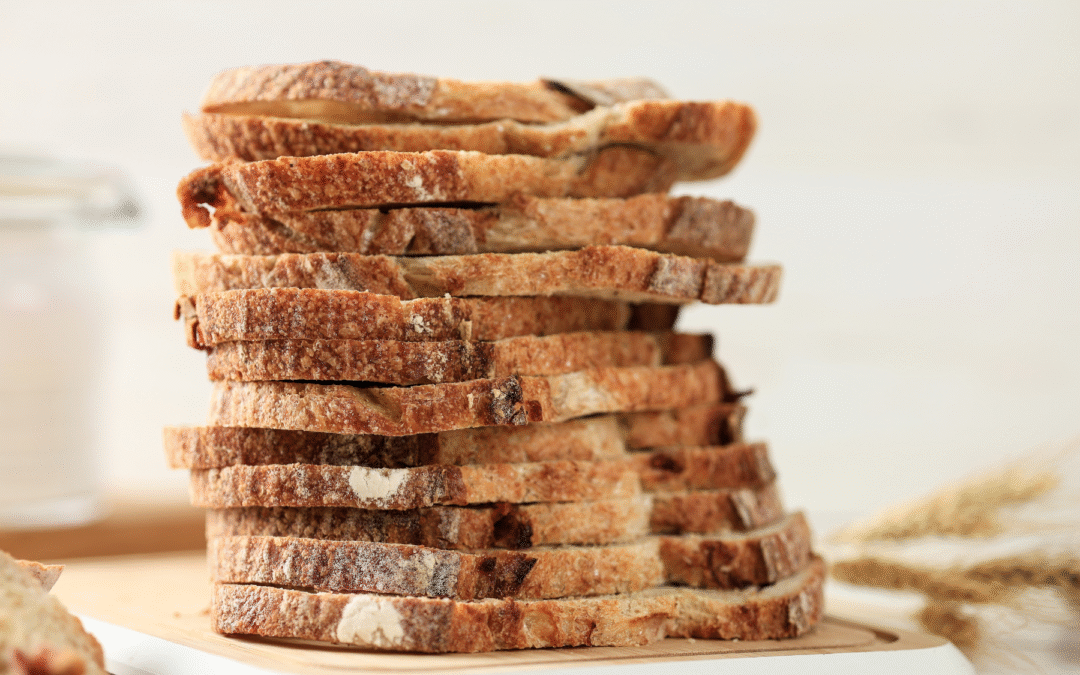
Milk’s lactose caramelizes quickly in the oven, giving your loaf a deep golden crust long before it’s fully baked. And the smell? That warm, sweet, bakery aroma almost feels nostalgic — like the bread aisle of a grocery store, but better.
And perhaps the best part:
Milk helps bread stay soft longer. Milk solids hold onto moisture, giving you slices that stay tender for days instead of drying out overnight.
If you enjoy digging into the science behind baking, these are excellent starting points:
Dairy protein interactions – dairyscience.info
Maillard browning reaction –seriouseats.com
Open Library – ecampusontario.pressbooks.pub
What Water Does in Dough
(And why it still matters just as much.)
Water is the foundation of most bread. It hydrates flour cleanly and simply, without bringing any extra elements to the party. This gives gluten the freedom to link together tightly, forming strong strands that create structure and height.
This is why water-based doughs tend to:
- rise tall and airy
- create open, irregular crumb
- develop crisp, rustic crusts
- highlight the wheat and sourdough tang
- ferment quickly and efficiently
With water, nothing interferes with the grain or the fermentation. You taste the wheat. You taste the fermentation. You taste the tang exactly as it is.
Milk brings softness and comfort.
Water brings structure and character.
Both have their place in a baker’s world.
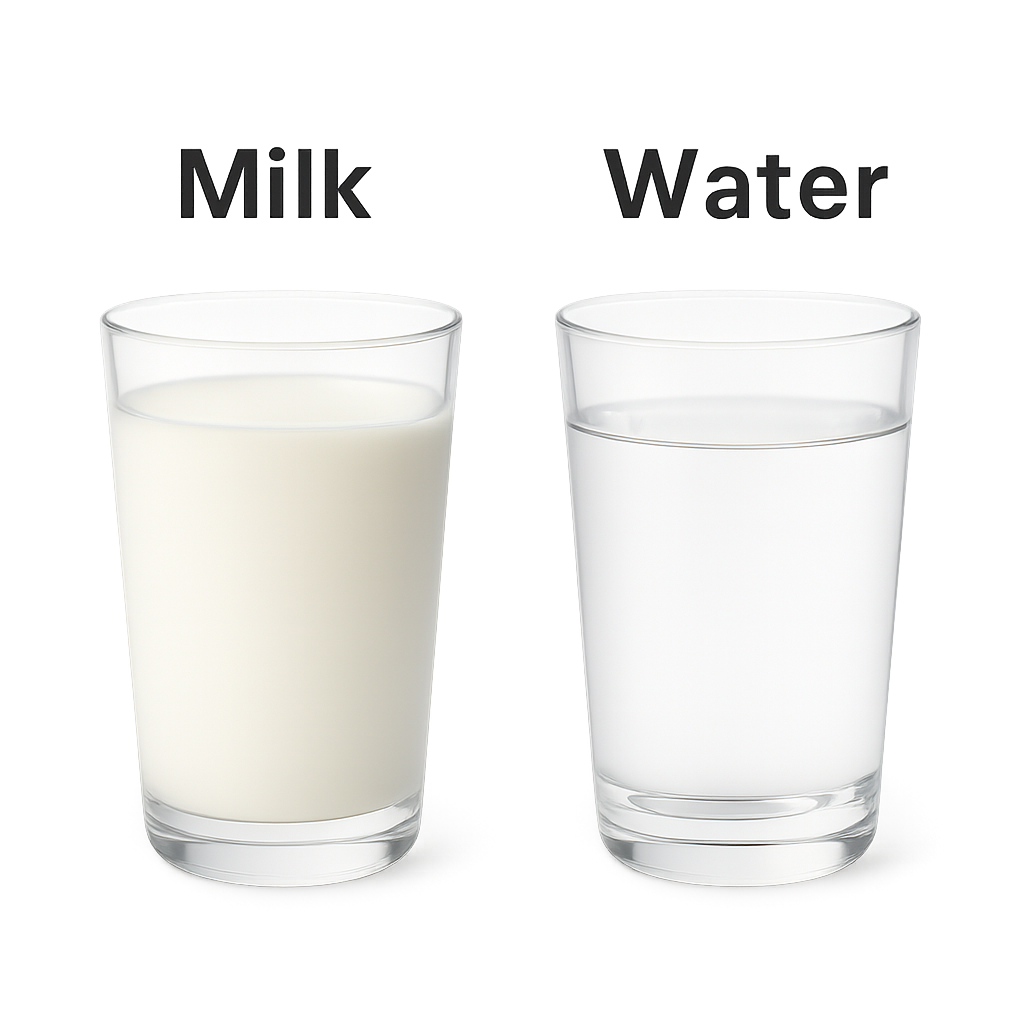
Milk vs Water in Bread:
The Real Differences
🥛 vs 💧
Both liquids hydrate flour, but the results are dramatically different.
Structure
💧 Water strengthens gluten, giving the dough elasticity.
🥛 Milk softens gluten because its fats and proteins gently interfere with gluten bonding.
Crumb
💧 Water produces open, irregular holes.
🥛 Milk creates a uniform, silky, tighter crumb.
Browning
💧 Water browns slowly.
🥛 Milk browns deeply and quickly thanks to lactose.
Rise
💧 Water doughs rise tall and airy with more oven spring.
🥛 Milk doughs rise slower but bake tender and even.
Flavor
💧 Water highlights wheat flavor and sourdough tang.
🥛 Milk softens acidity and adds gentle sweetness.
Shelf Life
💧 Water breads stale faster.
🥛 Milk breads stay soft longer because milk solids retain moisture.
Fermentation
💧 Water encourages faster fermentation.
🥛 Milk slows fermentation slightly.
Aroma
💧 Water gives a clean, fresh wheat aroma.
🥛 Milk creates a warm, nostalgic bakery scent.
Crust
💧 Water yields a crisp, rustic crust.
🥛 Milk makes a soft, thin, tender crust.
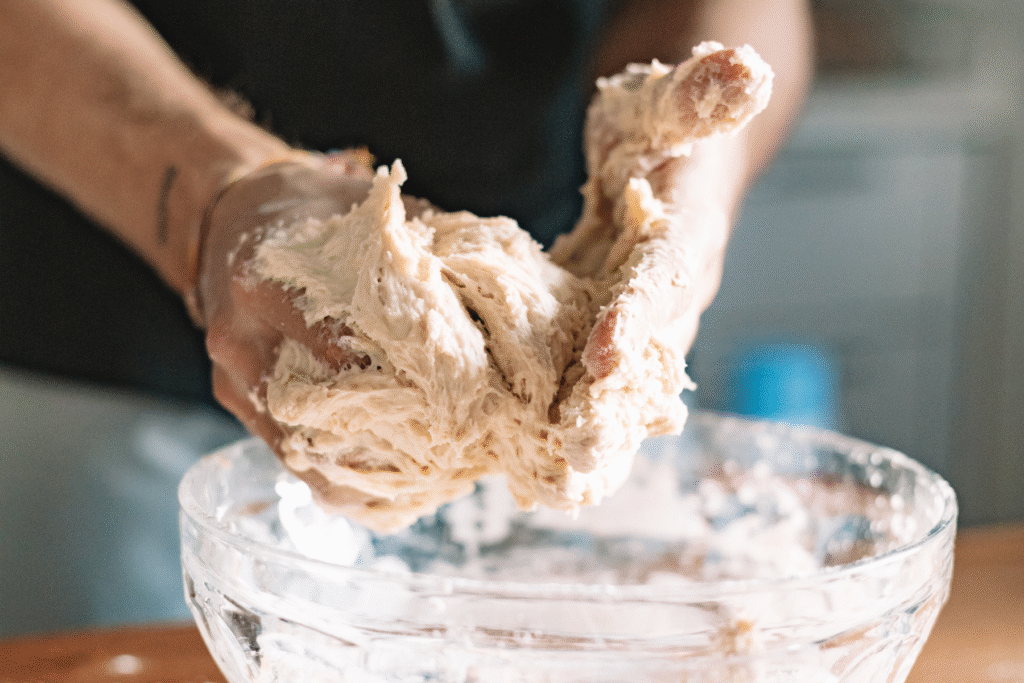
Dough Handling
💧 Water doughs feel strong and elastic.
🥛 Milk doughs feel relaxed, soft, and supple.
Milk vs Water in Bread:
The Real Differences
🥛 vs 💧
Both liquids hydrate flour, but the results are dramatically different.
Structure
💧 Water strengthens gluten, giving the dough elasticity.
🥛 Milk softens gluten because its fats and proteins gently interfere with gluten bonding.
Crumb
💧 Water produces open, irregular holes.
🥛 Milk creates a uniform, silky, tighter crumb.
Browning
💧 Water browns slowly.
🥛 Milk browns deeply and quickly thanks to lactose.
Rise
💧 Water doughs rise tall and airy with more oven spring.
🥛 Milk doughs rise slower but bake tender and even.
Flavor
💧 Water highlights wheat flavor and sourdough tang.
🥛 Milk softens acidity and adds gentle sweetness.
Shelf Life
💧 Water breads stale faster.
🥛 Milk breads stay soft longer because milk solids retain moisture.
Fermentation
💧 Water encourages faster fermentation.
🥛 Milk slows fermentation slightly.
Aroma
💧 Water gives a clean, fresh wheat aroma.
🥛 Milk creates a warm, nostalgic bakery scent.
Crust
💧 Water yields a crisp, rustic crust.
🥛 Milk makes a soft, thin, tender crust.
Dough Handling
💧 Water doughs feel strong and elastic.
🥛 Milk doughs feel relaxed, soft, and supple.
When Milk In Bread Is the Best Choice
Milk is the best choice when your goal is softness, tenderness, and a fine, even crumb. It’s ideal for breads meant to feel comforting, slice cleanly, and stay soft for days.
Use milk when the dough is designed to be soft-first, not structure-first.
Milk works best when:
- You want a soft sandwich loaf or enriched bread
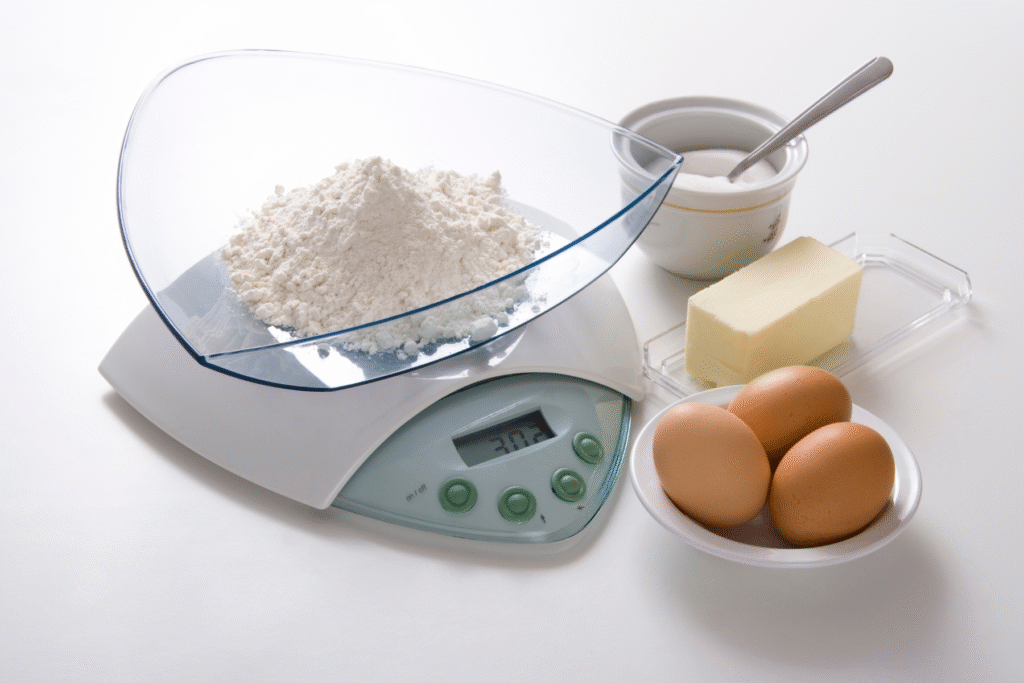
- The dough includes eggs or tangzhong/yudane, which help support structure
- The crumb should be tight, silky, and uniform, not open and rustic
- You’re baking pan loaves, rolls, buns, or sweet breads
- You want gentler sourdough flavor and richer browning
Milk adds tenderness, warmth, and that unmistakable bakery aroma. When the dough already has enough structure built in, milk doesn’t weaken it — it completes it.
When Water Is the Better Choice
Water is the better choice when you want strength, lift, and a bold sourdough character. It supports strong gluten development and allows fermentation to shine.
Use water when structure and openness matter more than softness.
Water works best when:
- You want a rustic or artisan-style loaf
- You’re aiming for an open, irregular crumb
- The dough needs to rise tall with strong oven spring
- You want a crisp, crackly crust
- You want the wheat flavor and sourdough tang to stand out
- The dough is high-hydration and relies on gluten strength
Water keeps the dough clean and responsive. Nothing interferes with gluten development or fermentation, which is why water-based breads feel bold, structured, and expressive.
What “Enriched” Means
Lightly enriched doughs include a small amount of fat or sweetener (like oil or honey) but no eggs or tangzhong.
Enriched doughs include eggs, tangzhong, or multiple enrichments working together to support a soft crumb.
When to Use Milk and Water Together
If dough doesn’t have anything built in to support structure — like eggs or a tangzhong — using 100% milk can make it too relaxed. Adding some water keeps the dough balanced.
Use milk and water together when:
- You want a soft sandwich loaf
- The dough has no eggs
- There is no tangzhong or yudane
- The dough is lightly enriched (for example, oil or honey, but not both in large amounts)
- You want good rise without sacrificing softness
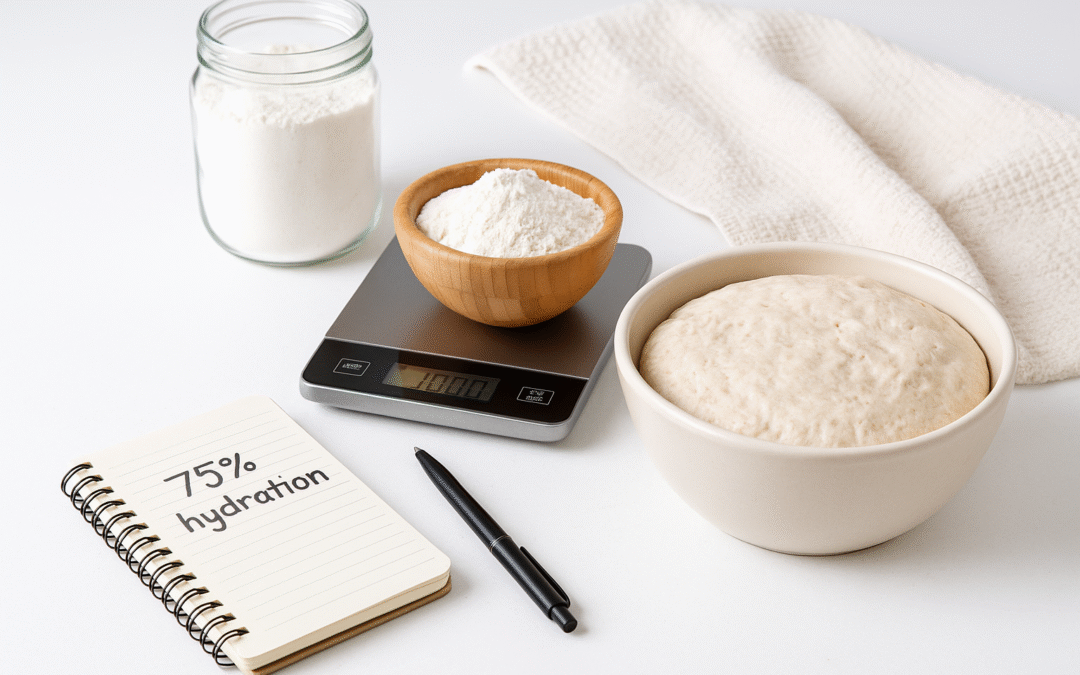
A reliable rule that works
When in doubt, use: 75% milk + 25% water
This blend gives you:
- the tenderness and browning of milk
- the strength and lift of water
It’s especially useful for simple sandwich breads and lightly enriched sourdough loaves where you want the bread to feel soft but still rise nicely.
Easy way to remember
- Eggs or tangzhong in the dough? Full milk usually works well.
- No eggs and no tangzhong? Use milk and water together.
Milk adds comfort.
Water adds lift.
Using both helps your bread do both.
Can You Swap Milk and Water?
You can, but the swap is not 1:1. Milk makes dough softer and slows fermentation, so you may need slightly less hydration and a bit more patience during rising. Water makes dough stronger and more open, so if you replace milk with water, your crumb may open up and your crust may brown more gently.
The important thing is to adjust with intention instead of guessing.
| If replacing water with milk: | If replacing milk with water: |
|
|

Milk in Sourdough
(This is where the magic really happens.)
Milk interacts with wild yeast and bacteria differently than it does with commercial yeast. In sourdough, milk gently tempers acidity, slows fermentation just enough to create structure, and produces a beautifully custard-like crumb that feels luxurious. The browning becomes richer, the aroma warmer, and the loaf stays soft longer — especially after a long cold proof.
If you’ve ever sliced into a milk-enriched sourdough and wondered why it feels almost “silky,” this is why.
If you’re curious to see how this shows up in real loaves, a few of my recipes highlight exactly what milk brings to sourdough:
- Sourdough Honey Wheat Bread – shows how milk creates softness while still letting the grain shine. Recipe coming soon.
- Cinnamon Raisin Swirl Sourdough – milk gives this loaf its tender crumb and gentle sweetness. Recipe coming soon.
- Honeycloud Sourdough Loaf – the best example of that silky, enriched sourdough texture milk makes possible.
Troubleshooting Milk-Based Doughs
Gentle guidance from someone who has made all the mistakes for you.
- If your dough feels sticky → reduce hydration slightly.
- If it browns too fast → lower the oven temperature or tent with foil.
- If it rises slowly → relax. Milk naturally slows fermentation.
- If your crumb feels tight → strengthen gluten early with mixing or folds.
- If the flavor is too mellow or soft → reduce milk slightly or add a touch of whole grain.
Everything is fixable — once you know what milk is actually doing.
What Milk In Bread Really Means
Baking with milk is one of those little choices that doesn’t look like much on paper but completely transforms what comes out of your oven. It softens the tough edges, rounds out the flavor, and adds this quiet warmth that you can feel in every bite. Once you understand what it’s doing inside your dough, it becomes one of those tools you reach for with confidence.
Whether you’re making a cozy loaf for your family or experimenting with your own enriched sourdough creations, I hope this guide helps you see milk not as a “maybe,” but as a beautiful way to shape the kind of bread you love.
If you try baking with milk or milk powder, come back and tell me how your loaf turned out. I love hearing your stories and seeing what’s happening in your kitchen. I am here to answer your questions.
Frequently Asked Questions
Can I replace water with milk in any bread recipe?
You can, but it’s best to do it with intention. Replacing water with milk will soften the crumb, slow fermentation slightly, and cause the bread to brown faster. For rustic or high-hydration artisan breads, milk may make the loaf too soft. For sandwich loaves, enriched doughs, and soft sourdough, milk works beautifully.
Does milk make bread softer?
Yes — very noticeably. Milk fats and proteins interfere slightly with gluten development, which prevents the dough from becoming too tight or chewy. The result is a softer, more tender crumb that feels plush instead of elastic.
Why does bread made with milk brown faster?
Milk contains lactose, a natural sugar that caramelizes more readily than the sugars found in flour. This leads to deeper browning, a shinier crust, and that warm bakery aroma many people associate with enriched breads.
Can I use milk in sourdough bread?
Absolutely. Milk works especially well in enriched sourdough breads. It softens acidity, slows fermentation just enough to improve texture, and creates a smooth, custardy crumb. Many bakers love milk in sourdough sandwich loaves, honey wheat, cinnamon raisin, and milk bread–style doughs. Check out my enriched sourdough recipes.
Does milk affect sourdough fermentation?
Yes, slightly. Milk slows fermentation because fats and proteins interfere a bit with yeast activity. This isn’t a bad thing — it often leads to better structure and a more even crumb. You may just need to allow a little extra time for bulk fermentation or proofing.
Is milk powder better than liquid milk for bread?
They serve different purposes. Milk powder adds flavor, color, and softness without changing hydration, making it very useful in sourdough baking. Liquid milk changes both hydration and structure. Many professional bakers use both together for the best results.
Can I use non-dairy milk instead of milk?
You can, but results will vary. Unsweetened soy milk behaves most similarly to dairy milk due to its protein content. Almond, oat, or coconut milk may add flavor but won’t provide the same softening or browning effects unless they contain added sugars or fats.
Does milk make bread last longer?
Yes. Milk solids help retain moisture and slow down starch retrogradation, the process that causes bread to go stale. Milk-based breads typically stay soft and fresh longer than water-based loaves.
Why does milk bread taste less sour?
Milk naturally buffers acidity, which softens the sharp tang of sourdough. This is why milk-based sourdough breads often taste more mellow, rounded, and gently sweet rather than boldly sour.
When should I avoid using milk in bread?
Milk isn’t ideal for breads where you want a crisp crust, open crumb, and strong chew — such as rustic boules, baguettes, or high-hydration artisan sourdough. In those cases, water allows the gluten and fermentation to shine.