Baker’s Percentages Explained: Unlock the Secret Language of Great Baking

Baker’s Percentages Explained: Unlock the Secret Language of Great Baking

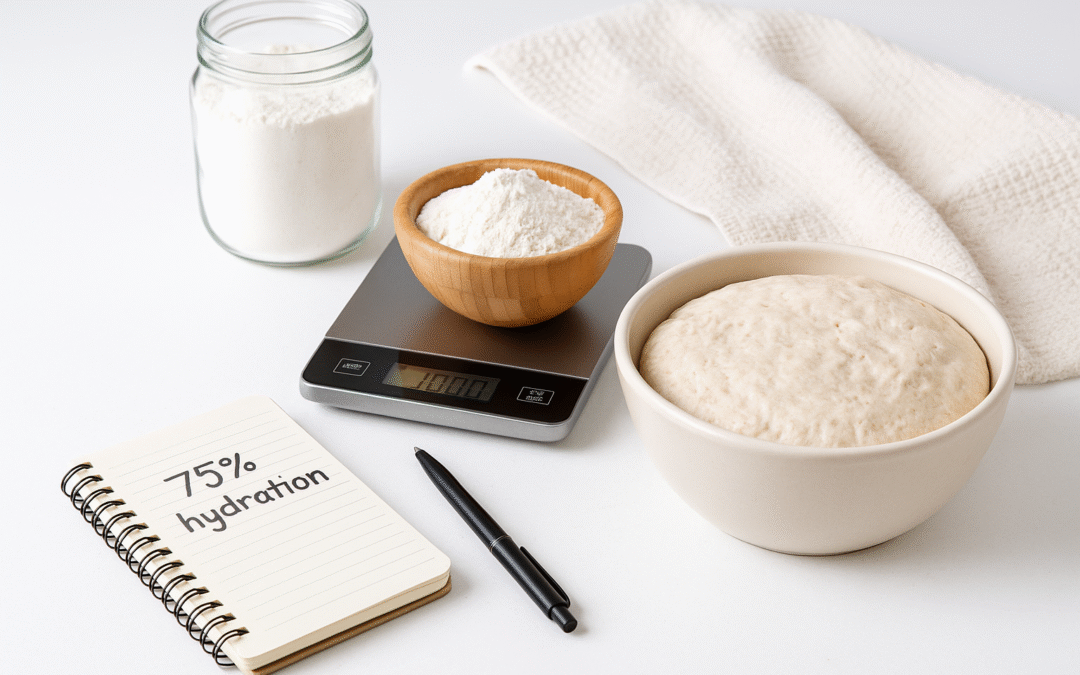
I remember the first time I saw a sourdough formula that said “75 % hydration.” I blinked. Then blinked again. Was this algebra? A secret code? I didn’t know it yet, but I was looking at my first example of baker’s percentages, the secret language that every great sourdough baker eventually learns to speak.

Turns out, that little number changed everything.
Once I understood baker’s percentages, I stopped guessing and started baking with confidence. Suddenly my loaves weren’t surprises — they were consistent, balanced, and exactly how I wanted them to be.

So grab a cup of coffee and your scale. Let’s decode this together.

What Are Baker’s Percentages and Why They Matter

Baker’s percentages (or “baker’s math”) express every ingredient as a percentage of the flour weight, not the total dough weight.

Flour is always 100 %, and everything else — water, salt, starter, honey, or butter — is compared to that number. This simple “baker’s math” keeps every bread formula consistent, whether you’re making one loaf or ten. In other words, flour sets the standard for every calculation.

👉 A Simple Example of Baker’s Math 

Example:
If you use 1000 g flour and 750 g water, your dough is 75 % hydration because
750 Ă· 1000 = 0.75.

It’s that simple. From that moment on, the entire bread world starts to click into place.

close up of flour being weighed in grams on digital kitchen scale for baker’s percentages

Why You’ll Fall in Love with Baker’s Math

It lets you:

  • Scale any recipe up or down perfectly
  • Compare formulas from different bakers instantly
  • Adjust hydration for texture and crumb
  • Balance flavor and fermentation time
  • Create your own signature recipes

It’s the difference between copying a song and composing your own.

Baker’s Percentage Formula Explained

Once you understand this baker’s percentage chart,
you can quickly scale or modify any recipe without guesswork.

Ingredient % = (Ingredient Weight ÷ Flour Weight) × 100.  Example:

Ingredient Weight (g)

Baker’s %

Bread Flour 800 80% Total Flour
Whole Wheat Flour 200 20%
Water 750 75%
Starter 200 20%
Salt 20 2%

Add the flour weights together to get your 100 %. Everything else is relative to that.

💦 Understanding Hydration in Baker’s Percentages

Hydration percentage — the ratio of water to flour — determines how your dough feels and bakes. Understanding this part of baker’s math is key to mastering texture.

Hydration Texture

Perfect For

60–65 % Tight crumb, firm structure Sandwich loaves, enriched breads
70–75 % Balanced, open crumb Boules, batards
80 % + Loose, glossy, holey Ciabatta, focaccia

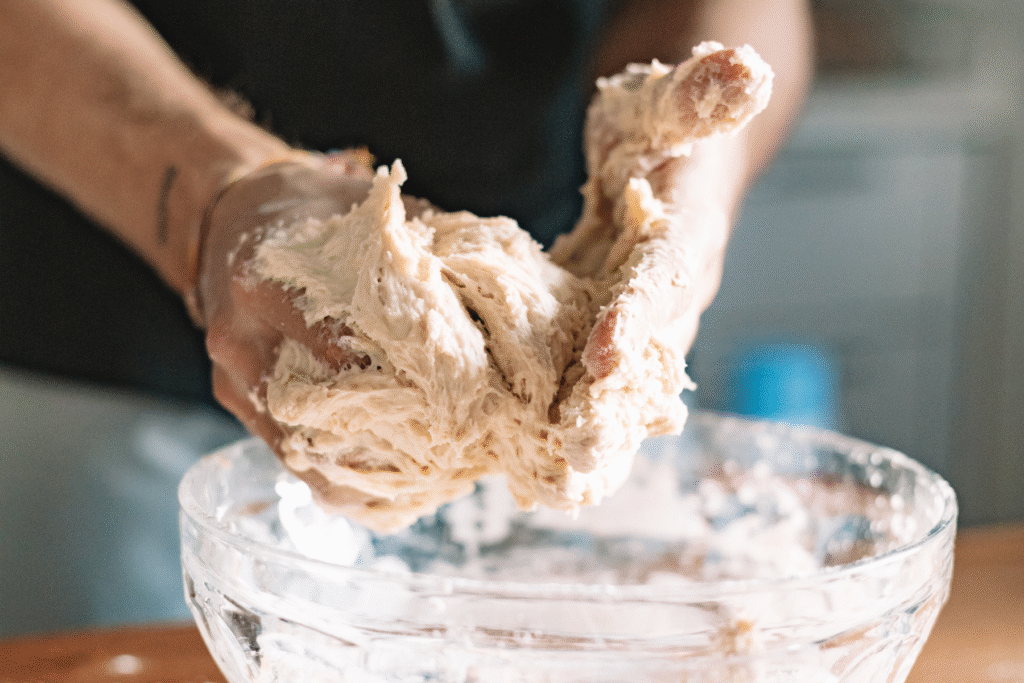
A 70 % dough feels like smooth play-dough. By contrast, at 80 %, it’s alive — soft, elastic, and slightly sticky, like a marshmallow that wants to stretch forever.

Typical Baker’s Percentages in Sourdough

Ingredient Common Range What It Does 
Starter 10–30 % Controls fermentation speed and flavor
Water 65–85 % Determines crumb and texture
Salt 1.8–2.5 % Balances flavor, slows fermentation
Honey / Sugar 2–10 % Adds sweetness and crust color
Fat (Butter / Oil) 1–15 % Tenderness and richness
Milk 10–30 % Softens and Enriches
Eggs 10–25 % Color, structure, flavor

These numbers form the backbone of every sourdough ratio you’ll ever use, from crusty boules to soft sandwich loaves.

How to Build Your Own Baker’s Percentage Formula

This kind of baker’s math lets you design new recipes confidently — adjusting your sourdough ratios to match your taste or texture goals.

Say you want:
1000 g flour
75 % hydration
20 % starter
2 % salt

Ingredient % Grams
Flour  100% 1000
Water 75% 750
Starter 20% 200
Salt 2% 20

Need half the batch?
Just cut the flour to 500 g and apply the same percentages, math magic,
no guessing, or just cut the ingredients in half.

Tools for Working With Baker’s Percentages

Disclosure: This article includes affiliate links. If you click and make a purchase, I may earn a small commission at no cost to you. As an Amazon Associate I earn from qualifying purchase. All opinions and product recommendations are my own.

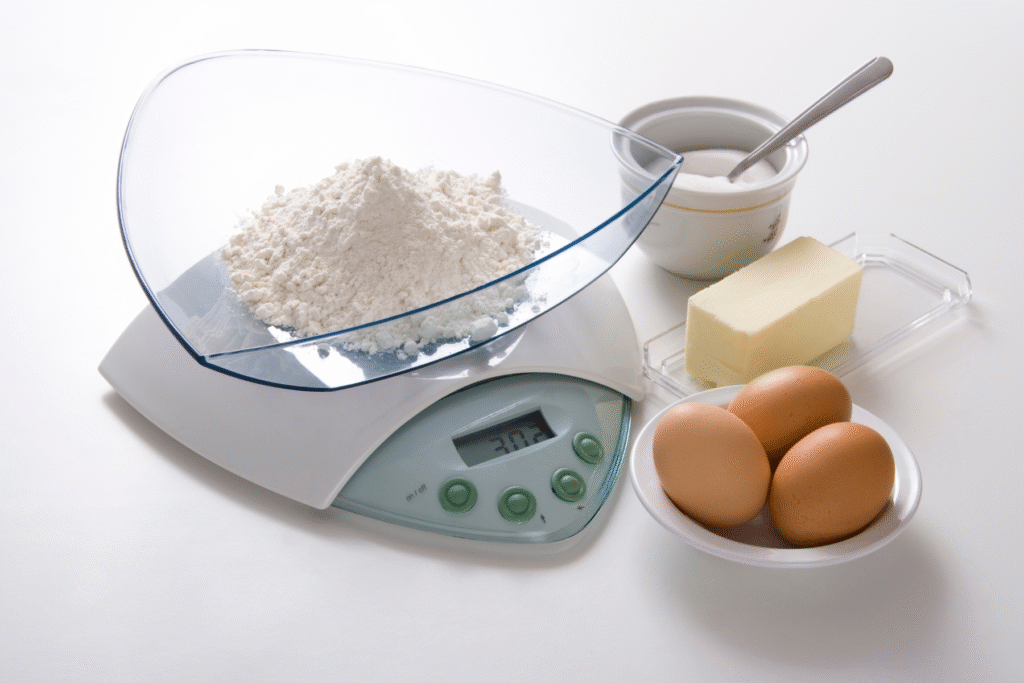
Digital Kitchen Scale – accuracy is everything. I love this OXO Precision Scale

Baking Notebook – jot down every experiment and hydration tweak.

Baker’s Percentage App – A simple baker’s percentage calculator (or any bread formula app) can save time and prevent scaling mistakes.

Dough Thermometer – remember, time + temperature + ratios = consistent bread.

💡 Don’t Forget the Starter’s Hydration

If your starter is 100 % hydration (equal parts flour and water), it already contributes to both totals.

So:
Starter = 200 g → 100 g flour + 100 g water.
Your total flour and total water both increase by those amounts.

This tiny detail explains why two “identical” recipes can feel different. Ultimately, it’s all in the math.

Quick Style Comparison

Style Flour (g) Water (g) Starter (g) Salt (g) Hydration % Texture
Rustic Country Loaf 1000 780 200 20 78% Open, chewy
Sandwich Loaf 1000 650 150 20 65% Light, bubbly
Focaccia 1000 850 100 25 85% Light, bubbly
Brioche 1000 500 200 20 50% Rich, tender

How to Experiment (Without Fear)

  • Add 2–3 % more water for a looser, more open crumb.
  • Increase the starter to 20–25 % for faster, milder fermentation.
  • Lower the starter to 10–15 % for slower fermentation and a tangier flavor.
  • Keep notes — over time, they’ll become your personal bread diary.

Did you know?
More starter doesn’t just make your dough rise faster, it also limits the time acids can develop, giving you a softer, sweeter flavor profile. Less starter slows things down, deepening the sourness.

Every tweak teaches you how your dough thinks.

baker shaping and working sourdough dough by hand on a floured counter with bowls of flour and seeds nearby

A Quick Reality Check

When I started baking, I tossed ingredients together and hoped for magic. Some loaves were miracles; others… flat and dense.
Learning baker’s percentages felt like unlocking the language my dough had been trying to speak all along.

Now, every time I mix flour and water, I know exactly what I’m creating — not guessing, not hoping. Just baking on purpose.

Advanced Baker’s Percentages

Once you’ve mastered the basics of baker’s percentages, you can explore more advanced topics like:

  • Prefermented Flour (PFF) — how much of your total flour comes from your levain
  • Adjusting for mix-ins (nuts, seeds, dried fruit) without unbalancing your dough
  • Spreadsheet tracking for scaling formulas and managing large batches

For a deeper technical dive, visit The Perfect Loaf: Introduction to Baker’s Percentages
Maurizio’s guide is one of the clearest step-by-step explanations out there.

Baker’s percentages — or baker’s math — are more than numbers; they’re a language. 

When you understand your hydration percentage and ratios, you bake with intuition and confidence. No more mystery, no more guessing, just dough that behaves exactly how you want it to.

And trust me, nothing feels better than pulling a perfect loaf from the oven and knowing… you did the math and the magic.

Next, read:

Hydration Explained — How to Fix Sticky or Dry Dough → 
Beginner Sourdough Bread Recipe (Artisan Loaf) →

two golden sourdough loaves cooling on a wire rack after baking with balanced baker’s percentages

Baker’s Percentages FAQ
Real Questions Bakers Ask

1. Do I count the flour in my starter?

Absolutely. All flour = 100 %, including the flour inside your starter or levain.

2. What if I mix different flours?

Combine them to total 100 %. For instance, a bread formula that’s 70 % bread flour and 30 % spelt still follows the same baker’s math principles.

3. Is wetter dough always better?

Not unless you enjoy chasing slime across your counter. Each style has its own sweet spot.

4. Do milk and eggs count as water?

Partly. They contain moisture, so advanced bakers sometimes include them in total hydration.

5. Where should I start?

Try 70 % hydration. It’s forgiving, easy to handle, and makes gorgeous loaves.

How to Fix Sticky or Dry Dough (And What Your Dough Is Really Trying to Tell You)

How to Fix Sticky or Dry Dough (And What Your Dough Is Really Trying to Tell You)

If your hands have ever been glued to a sticky or dry dough ball, you know the feeling — messy, frustrating, and confusing. On the other hand, when dough feels dry and stiff, shaping can feel like wrestling clay.

The truth is, both sticky and dry dough are completely normal in sourdough baking. They’re not failures — they’re signals. Sticky dough might mean your hydration is high or fermentation is moving fast. Dry dough often means your flour hasn’t absorbed enough water.

By learning how to fix sticky or dry dough, you’ll understand what your dough is saying and adjust confidently for perfect texture every time.

What Sticky Dough Means (and When It’s Normal)

Sticky dough isn’t always bad. In fact, it’s part of the process when you’re working with sourdough. The key is knowing when stickiness is expected and when it signals trouble.

Sticky Dough Early On

When dough feels sticky during mixing, that’s completely normal. Your flour is still hydrating and the gluten hasn’t developed yet. Give it time, folds, and rest.

Sticky Dough During Bulk Fermentation

If your dough feels slightly tacky mid-bulk, it’s still on track. High-hydration recipes or whole-grain flours naturally feel stickier. Keep folding and let time do its job.

Sticky Dough After Bulk or During Shaping

When the dough feels loose, soupy, or stretchy like glue, it’s a red flag. That means overfermentation — the gluten network has broken down. Yeast and bacteria have used up the sugars, leaving weak structure.
To fix it, shorten your fermentation or refrigerate halfway through bulk.

Perfectly hydrated dough during bulk fermentation

Two Types of Stickiness in Dough

Type Feels Like Cause Fix
Hydration Sticky Smooth and tacky High hydration or underdeveloped gluten Mix longer or fold more
Fermentation Sticky Loose, glue-like Overfermentation or weak gluten Shorten fermentation
or cool the dough

How to Fix Sticky Dough

If you’re dealing with sticky dough, don’t panic. Try these simple fixes:

  1. Avoid adding too much flour. Sprinkle lightly; extra flour can dry the dough and stiffen the crumb.
  2. Strengthen the gluten. Add a few stretch-and-folds or a brief mix. Stronger gluten reduces stickiness.
  3. Cool it down. Warm dough ferments faster and gets sticky. Keep bulk around 75–78°F.
  4. Use wet or oiled hands. Water or olive oil prevents sticking without changing hydration.
  5. Check your salt timing. Salt tightens gluten and regulates fermentation. Add it at the right stage to keep dough stable.
  6. Feed your starter regularly. A weak or acidic starter breaks down gluten and increases stickiness.

How Flour Type Affects Sticky or Dry Dough

Flour choice plays a major role in how your dough behaves. Different flours absorb water differently and develop gluten to varying degrees — which directly affects whether your dough feels sticky or dry.

  • Bread Flour (12–13% protein): High protein content builds strong gluten. Feels sticky at first but becomes smooth and elastic with proper mixing.
  • All-Purpose Flour: Moderate protein and softer texture. Tends to feel slightly tackier during handling, especially in higher-hydration doughs.
  • 00 Flour: Finely milled, low-protein flour with lower absorption. Dough made with 00 flour often feels soft and sticky unless hydration is reduced by 2–3%.
  • Whole Grain and Rye Flour: Whole grain and rye flours retain more water due to higher bran and mineral content (technically known as ash content, a measure of how much of the whole grain is present in the flour). These doughs tend to stay tackier even when perfectly developed.. They also ferment faster due to enzyme and mineral activity.
  • Ancient Grains (Einkorn, Spelt, Kamut/Khorasan): Naturally lower in gluten strength. Dough made with these flours often feels stickier and looser, even at moderate hydration.
    • Important: This stickiness is not a flaw. Einkorn and Kamut don’t form strong gluten networks, so their dough will always feel more fragile and wet. Reduce hydration slightly and handle gently — less is more with ancient grain doughs.

💡 Pro Tip: When switching flours, especially to heritage grains, reduce hydration by 5–10% and expect a stickier texture even when the dough is well developed.

Note: Ash content refers to the mineral residue left after flour is incinerated — the more bran/germ present, the higher the ash. More ash = more absorption.

Temperature and Enzyme Activity

Temperature affects dough stickiness more than you might think.

  • Warm rooms (80°F+): Enzymes break down gluten faster, creating sticky, slack dough.
  • Cooler rooms (72–76°F): Fermentation slows down, allowing gluten to strengthen.

If your dough is sticky late in bulk, try lowering fermentation temperature or refrigerating mid-bulk.

🧂 Salt’s Role in Gluten Strength

Salt is more than a flavor booster. It tightens gluten bonds, making dough stronger and less sticky. If you forget salt during the autolyse, the dough may feel loose and tacky until you add it.

Why Dough Feels Dry

Dry or crumbly dough usually means your flour hasn’t absorbed enough water — or the environment has pulled moisture away.

Common Causes of Dry Dough

  • Too little water or too much flour
  • Cold ingredients that slow hydration
  • Overmixing before resting
  • Weak starter or low fermentation activity
  • Air exposure during rest

How to Fix Dry Dough

You can easily bring dry dough back to life:

  1. Add water gradually. Mix in a teaspoon at a time until the dough softens.
  2. Use warm water (around 80°F). Warm water improves absorption.
  3. Let it rest. Even 30 minutes of autolyse helps flour hydrate.
  4. Cover it tightly. Prevent moisture loss by sealing the bowl or using a damp towel.
  5. Adjust humidity. Add slightly more water in dry climates or less in humid ones.
Dry sourdough dough lacking hydration

Starter Strength and Acidity

If your dough feels sticky and weak, your starter might be too acidic. High acidity breaks down gluten. To fix it:

  • Feed your starter more frequently.
  • Keep it at consistent temperature.
  • Use it at its peak, not after collapse.

A healthy, balanced starter gives your dough strength and structure.

Recognizing Dough Stage Cues

Stage Texture Meaning Action
Early mix Shaggy and sticky Flour hydrating Keep mixing
Mid-bulk Smooth and tacky Ideal gluten Maintain folds
End bulk Loose and soupy Overfermented Reduce time or temperature
Post-mix Crumbly and stiff Underhydrated Add water or rest longer

Bread Science Corner

When it comes to understanding sticky or dry dough, the world’s leading baking experts all agree on one thing: texture is feedback. Your dough’s feel reveals what’s happening inside the gluten network, hydration, fermentation, and strength.

1. The Perfect Loaf

Maurizio Leo emphasizes that a weak, wet, or collapsing dough after bulk fermentation usually points to overhydration or insufficient gluten strength. In his shaping guide, he explains:

“If the dough feels weak and fails to smooth and hold its shape by the end of bulk fermentation, it is either over-hydrated or under-strengthened.”
Source: The Perfect Loaf – How to Shape a Boule

He also notes that excessive hydration or weak gluten creates a dough that appears “wet and soupy”:

“An over-hydrated bread dough will shred apart and look wet and soupy.”
Source: The Perfect Loaf – Mixing Bread Dough

2. Modernist Bread

The team behind Modernist Bread explains how gluten structure weakens as fermentation progresses beyond its ideal point:

“When carbon dioxide exerts more pressure than a proofed dough can withstand, the gluten structure weakens, releasing the gas and deflating the overproofed dough.”
Source: Modernist Bread – Gluten Up Close

While they describe it in terms of gas pressure and structural collapse rather than “stickiness,” this same breakdown results in dough that feels loose, wet, and difficult to shape, identical to the experience of overfermented sourdough.

3. King Arthur Baking Company

King Arthur Baking highlights that high-hydration and whole-grain doughs naturally feel stickier and require gentler handling:

“Sometimes sticky, these doughs benefit from a delicate touch and may require new techniques: like folding rather than kneading and loose shaping.”
Source: King Arthur Baking – With Bread, Is Wetter Better?

They also note that even very sticky doughs can develop strength through proper mixing:

“By cutting the dough … a loose, shapeless dough turns into a more tautly formed mass.”
Source: King Arthur Baking – To Knead Sticky Bread Dough, Adopt the Chop

Across these professional sources:

  • Sticky dough early in mixing is normal and expected due to high hydration or developing gluten.
  • Sticky or soupy dough after bulk fermentation indicates structural weakening or overfermentation.
  • High-hydration doughs (especially whole-grain or rye) are inherently tackier but not “wrong.”
  • Dry or cracked dough generally signals low hydration or air exposure — a point acknowledged by King Arthur and Modernist Bread in their texture troubleshooting guides.

In other words, if your dough feels sticky, you’re witnessing fermentation and hydration in action. The goal is to learn whether that stickiness means life, or overwork.

Close-up of sticky sourdough dough stretching between hands on a white countertop, showing the elastic texture and early hydration stage during mixing.

Troubleshooting Chart for Sticky or Dry Dough

Problem Likely Cause Quick Fix
Sticky during mix High hydration Mix longer or fold more
Sticky after bulk Overfermented Shorten fermentation or chill mid-bulk
Sticky after shaping Weak gluten Use cold dough or lower hydration
Crumbly texture Low hydration Add small amounts of water
Tears when stretching Weak gluten Rest or strengthen folds
Dry cracked top Lost moisture Cover the dough properly
Feels tight and dense Too much flour Extend rest period

Humidity and Climate Adjustments

Flour naturally absorbs moisture from the air. In humid climates, reduce hydration slightly. In dry climates, add 2–3% more water. This small change keeps your dough balanced and prevents extremes.

Recommended Tools

This post contains affiliate links, including Amazon links. As an Amazon Associate, I earn from qualifying purchases. If you click through and buy something, I may receive a small commission, at no additional cost to you. I only recommend tools I personally use and love in my sourdough baking.

Sticky or dry dough doesn’t mean you failed

Sticky or dry dough doesn’t mean you failed — it means your dough is communicating. Every batch reveals something about hydration, timing, and environment.

Sticky dough shows life and activity. Dry dough simply needs a little more care. Once you start reading these cues, baking becomes intuitive — a conversation between your hands and your starter.

So next time the dough clings or cracks, pause, adjust, and trust yourself. You’re learning to listen — and that’s where every great baker begins

Related Articles


Frequently Asked Questions

1. Should I flour my hands or wet them?

Wet or oil your hands. Flour changes hydration; water or oil prevents sticking naturally.

2. Why is my dough sticky after bulk?

It’s overfermented. Reduce fermentation time or refrigerate during bulk.

3. Can I fix overhydrated dough?

Yes. Add folds and cool it slightly to firm up the structure.

4. Why does my dough dry out during proofing?

Uncovered dough loses moisture quickly. Keep it sealed.

5. Can olive oil help sticky dough?

Yes. Oil creates a thin barrier and improves handling.

6. Why is my dough sticky and tearing?

That mix of signs means overfermentation. Gluten has broken down.

7. What’s the ideal dough feel?

Soft, supple, and slightly tacky. It should stretch smoothly without tearing.

8. How can I fix dry dough before bulk?

Add a little water and rest the dough. Autolyse helps rehydrate flour evenly.